Blinkies


Email Me
ladyaries_67@yahoo.com


Creative Teams
♥Proud Personal CT♥


Forums


I Support...

Tuesday, April 29, 2014
Midnight Mystic - FTU

This tutorial is from my own imagination,
any similarity to any other tag or tutorial is purely coincidental.
It was written by LadyAries on April 29th, 2014.
This tut was written for those with a basic knowledge of psp.
This is a very quick and easy tutorial.
*Supplies Needed*
PSP: I am using X2 but any of them should work.
Font of choice, I am using Reed of Love
Font of choice, I am using Reed of Love
FTU Cluster frame by Chilipepper Spiced HERE.
This is a PTU tube and you must have a license to use.
*PlugIns*
~ ~ ~ ~ ~ ~ ~ ~ ~ ~
*Let's Get Started*
*Remember to add your drop shadow as you go along*
I am using V3 H3 O25 B5 black
Resize your frame 93 percent.
Activate your eraser tool and erase the credits in the middle.
Resize your tube 90 percent, copy & paste to the center of your frame.
Duplicate your frame, then erase portion just above the tubes head so that your tube is showing nicely. Erase all extra parts of your tube that are showing.
Resize your tube 90 percent, copy & paste to the center of your frame.
Duplicate your frame, then erase portion just above the tubes head so that your tube is showing nicely. Erase all extra parts of your tube that are showing.
Open a new raster layer and send it to the bottom of your layers palette, flood fill with color of choice, I have used #2d2b36.
Apply your mask & merge group. Duplicate & mirror then merge the two mask layers.
Activate your pick tool and stretch your mask so that it shows nicely around your tag.
Activate your pick tool and stretch your mask so that it shows nicely around your tag.
When you are happy with your tag merge all layers and resize to your liking.
Apply the correct artist copyright and license info and save as a PNG, then add your name and merge & save.
I hope you enjoyed this tut. ♥
Apply the correct artist copyright and license info and save as a PNG, then add your name and merge & save.
I hope you enjoyed this tut. ♥
Saturday, April 26, 2014
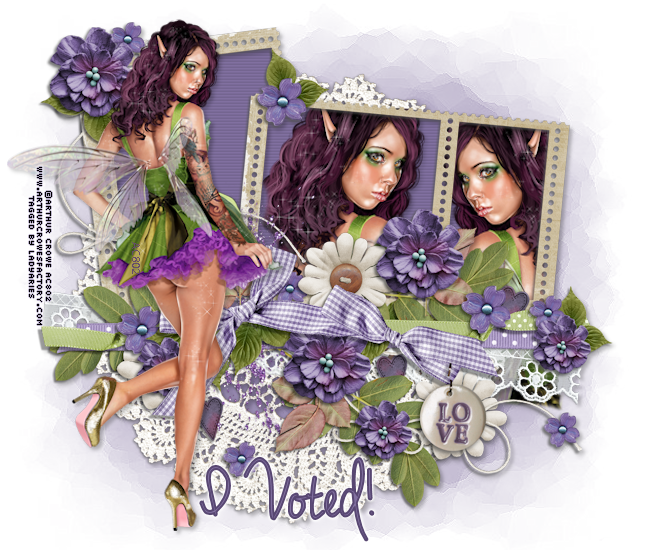
Flora Fairy Snags
I made this snag set with artwork of Arthur Crowe which can be purchased from Arthur Crowe's Factory. I also used a FTU cluster frame by Kimeric Kreations.
*click on image to view full size & right click to save*
Enjoy ♥ 




Breath of Spring - PTU

*Click tag to see full size*
This tutorial is from my own imagination,
any similarity to any other tag or tutorial is purely coincidental.
It was written by LadyAries on April 26th, 2014.
This tut was written for those with a basic knowledge of psp.
*Supplies Needed*
PSP: I am using X2 but any version should work.
Font of choice: I am using AButterflyOnADaffodil
Mask: SG_daisy-edge ~ Link Unknown
Drop Shadow usually V3 H3 O25 B5 black
*Tube of Choice*
I am using the beautiful art of Elias Chatzoudis.
And it can be purchased from Elias Art Shop.
This is a PTU tube and you must have a license to use.
*Scrap kit Of Choice*
I am using the beautiful PTU kit "Breath of Spring" by Vickie's Scraps
And it can be purchased from any of her stores HERE.
~ ~ ~ ~ ~ ~ ~ ~ ~ ~
*Let's Get Started*
*Remember to add your drop shadow as you go along*
Open a new image 650 x 650
Element 37 copy & paste towards the bottom center of your tag.
Element 86 resize 75 percent, copy & paste to the right side of your tag. Duplicate & mirror.
*Scrap kit Of Choice*
I am using the beautiful PTU kit "Breath of Spring" by Vickie's Scraps
And it can be purchased from any of her stores HERE.
~ ~ ~ ~ ~ ~ ~ ~ ~ ~
*Let's Get Started*
*Remember to add your drop shadow as you go along*
Open a new image 650 x 650
Element 37 copy & paste towards the bottom center of your tag.
Element 86 resize 75 percent, copy & paste to the right side of your tag. Duplicate & mirror.
Element 105 resize 35percent, copy & paste to the right side of your tag. Duplicate & mirror and over in your layers palette drag to below your trees.
Element 60 resize 50 percent, copy & paste to the bottom left side of your tag.
Element 76 resize 30 percent, copy & paste to the bottom left side of your tag. Duplicate & mirror.
Element 13 resize 25 percent, copy & paste to the bottom right side of your tag.
Element 10 resize 12 percent, copy & paste to the bottom left side of your tag. Adjust, sharpness, sharpen.
Element 77 resize 35 percent, copy & paste to the bottom center side of your tag.
Element 5 resize 14 percent, copy & paste to the left side of your tag. Duplicate & mirror.
Resize your tube to your liking and copy & paste to the center of your tag.
See my tag for details.
Add more elements if you wish to.
Open new raster layer and send to the bottom, copy & paste paper12 and apply your mask.
When you are happy with your tag merge all layers and resize to your liking.
Apply the correct artist copyright and license info and save as a PNG, then add your name and merge & save.
I hope you enjoyed this tut. ♥
~ ~ ~ ~ ~ ~ ~ ~ ~ ~ ~ ~
Thank you so very much for trying my tut Dixie.
Your tag is so beautiful!! I love it!♥
I hope you enjoyed this tut. ♥
~ ~ ~ ~ ~ ~ ~ ~ ~ ~ ~ ~
Thank you so very much for trying my tut Dixie.
Your tag is so beautiful!! I love it!♥

Sunday, March 16, 2014
Irish Princess - PTU

*Click tag to see full size*
This tutorial is from my own imagination,
any similarity to any other tag or tutorial is purely coincidental.
It was written by LadyAries on March 16th, 2014.
This tut was written for those with a basic knowledge of psp.
*Supplies Needed*
PSP: I am using X2 but any version should work.
Font of choice: I am using Allura Script
Mask: WSL 84 HERE.
Drop Shadow usually V3 H3 O25 B5 black
*Tube of Choice*
I am using the beautiful art of Tony Tzanoukakis.
And it can be purchased from his store The Art Of Tony Tzanoukakis.
This tutorial is from my own imagination,
any similarity to any other tag or tutorial is purely coincidental.
It was written by LadyAries on March 16th, 2014.
This tut was written for those with a basic knowledge of psp.
*Supplies Needed*
PSP: I am using X2 but any version should work.
Font of choice: I am using Allura Script
Mask: WSL 84 HERE.
Drop Shadow usually V3 H3 O25 B5 black
*Tube of Choice*
I am using the beautiful art of Tony Tzanoukakis.
And it can be purchased from his store The Art Of Tony Tzanoukakis.
This is a PTU tube and you must have a license to use.
*Scrap kit Of Choice*
I am using the beautiful PTU kit "Irish Princess" by Graphics Of Fantasy.
And it can be purchased from Scraps From The Heart.
*Scrap kit Of Choice*
I am using the beautiful PTU kit "Irish Princess" by Graphics Of Fantasy.
And it can be purchased from Scraps From The Heart.
Inner Bevel to my name with settings of:

~ ~ ~ ~ ~ ~ ~ ~ ~ ~
*Let's Get Started*
*Remember to add your drop shadow as you go along*
Open a new image 650 x 650
*Let's Get Started*
*Remember to add your drop shadow as you go along*
Open a new image 650 x 650
Frame5 resize 80 percent, copy & paste to the center of your tag.
Activate the magic wand and click inside the frame. Selections, modify, expand by 8. Open a new raster layer and copy & paste paper14, selections invert, delete, select none. Move your background under your frame.
Element9 resize 50 percent, copy & paste to the right side of your frame. Duplicate & Mirror.
Element102 resize 37 percent - mirror, copy & paste to the left side of your frame.
Element8 resize 40 percent - mirror, copy & paste to the left side of your frame.
Element104 resize 35 percent, copy & paste to the right side of your frame.
Element103 resize 32 percent - mirror, copy & paste to the right side of your frame.
Element55 resize 28 percent, copy & paste to the right side of your frame.
Element50 resize 14 percent - mirror, copy & paste to the left side of your frame.
Element50 resize 12 percent, copy & paste to the right side of your frame.
Element24 resize 14 percent - mirror, copy & paste to the left side of your frame.
Element18 resize 17 percent, copy & paste to the right side of your frame.
Element3 resize 8 percent, copy & paste to the left side of your frame.
Resize tube 45 percent - mirror, copy & paste to the center of your frame. Use your eraser tool
to remove any parts of your tube that may be sticking out.
See my tag for details.
Add more elements if you wish to.
Open new raster layer and send to the bottom, copy & paste paper14 and apply your mask & merge group. Side over to the left side slightly and then duplicate & mirror and merge the two layers. Duplicate & flip.
When you are happy with your tag merge all layers and resize to your liking.
Apply the correct artist copyright and license info and save as a PNG, then add your name and merge & save.
I hope you enjoyed this tut. ♥
Add more elements if you wish to.
Open new raster layer and send to the bottom, copy & paste paper14 and apply your mask & merge group. Side over to the left side slightly and then duplicate & mirror and merge the two layers. Duplicate & flip.
When you are happy with your tag merge all layers and resize to your liking.
Apply the correct artist copyright and license info and save as a PNG, then add your name and merge & save.
I hope you enjoyed this tut. ♥
Saturday, March 15, 2014
Almost Midnight - PTU
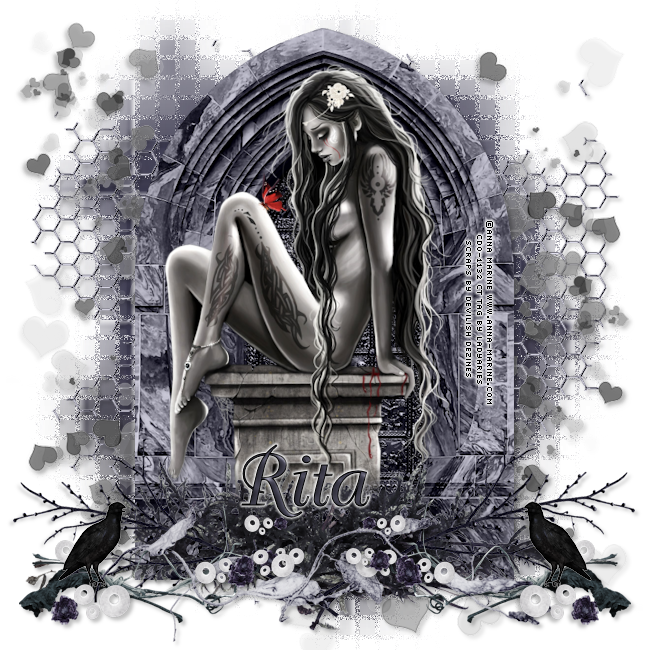
*Click tag to see full size*
This tutorial is from my own imagination,
any similarity to any other tag or tutorial is purely coincidental.
It was written by LadyAries on March 15th, 2014.
This tut was written for those with a basic knowledge of psp.
*Supplies Needed*
PSP: I am using X2 but any version should work.
Font of choice: I am using TravellerScript
Mask: WSL 84 HERE.
Drop Shadow usually V3 H3 O25 B5 black
*Tube of Choice*
I am using the beautiful art of Anna Marine,
And it can be purchased from Creative Design Outlet.
This is a PTU tube and you must have a license to use.
*Scrap kit Of Choice*
I am using the beautiful PTU kit "Almost Midnight" by Devilish Dezines.
And it can be purchased HERE and HERE.
*Scrap kit Of Choice*
I am using the beautiful PTU kit "Almost Midnight" by Devilish Dezines.
And it can be purchased HERE and HERE.
*PlugIn*
EyeCandy 6 ~ Gradient glow on my name.
Inner Bevel to my name with settings of:

~ ~ ~ ~ ~ ~ ~ ~ ~ ~
*Let's Get Started*
*Remember to add your drop shadow as you go along*
Open a new image 650 x 650
Element9 resize 75 percent, copy & paste to the center of your tag.
*Let's Get Started*
*Remember to add your drop shadow as you go along*
Open a new image 650 x 650
Element9 resize 75 percent, copy & paste to the center of your tag.
Element13 resize 80 percent, copy & paste to the bottom of your
tag. Duplicate & Mirror and then drag the duplicate layer to the top
of your tag.
Element15 resize 70 percent, copy & paste to the center of your tag.
Resize tube 95 percent, copy & paste to the center of your tag.
Element67 resize 75 percent, copy & paste to the bottom of your tag.
Element2 resize 40 percent, copy & paste to the right side of your tag. Duplicate & Mirror.
Element97 resize 35 percent, copy & paste to the left side of your tag. Duplicate & Mirror.
Element57 resize 70 percent, copy & paste to the bottom of your tag.
Element80 resize 35 percent, copy & paste to the left side of your tag. Duplicate & Mirror.
Element10 resize 16 percent, copy & paste to the right side of your tag. Duplicate & Mirror.
See my tag for details.
Add more elements if you wish to.
Open new raster layer and send to the bottom, copy & paste paper2 and apply your mask. Apply your texture effects, Mosaic Antique with these settings...

When you are happy with your tag merge all layers and resize to your liking.
Apply the correct artist copyright and license info and save as a PNG, then add your name and merge & save.
I hope you enjoyed this tut. ♥
Thursday, February 20, 2014
Spring Toadly Amazing - PTU
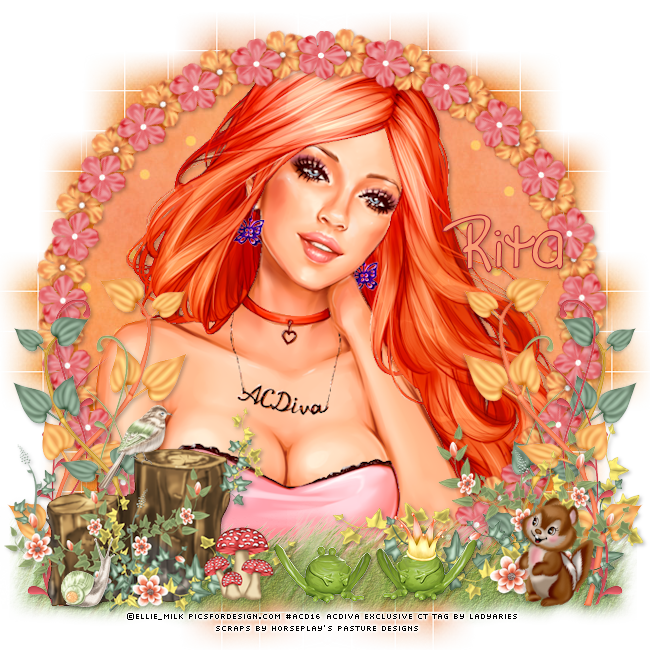
*Click tag to see full size*
This tutorial is from my own imagination,
any similarity to any other tag or tutorial is purely coincidental.
It was written by LadyAries on February 20th, 2014.
This tut was written for those with a basic knowledge of psp.
*Supplies Needed*
PSP: I am using X2 but any version should work.
Font of choice: I am using Brick by Boring Brick
Mask: WSL 84 HERE.
Drop Shadow usually V3 H3 O25 B5 black
*Tube of Choice*
I am using the beautiful art of Ellie_Milk.
~This tube is a ACDiva forum exclusive.~
You can purchased art from Ellie _Milk at Pics For Design
You can purchased art from Ellie _Milk at Pics For Design
This is a PTU tube and you must have a license to use.
*Scrap kit Of Choice*
I am using the beautiful PTU kit "Spring Toadly Amazing" by HorsePlay's Pasture
And it can be purchased at any of her stores listed HERE.
*Scrap kit Of Choice*
I am using the beautiful PTU kit "Spring Toadly Amazing" by HorsePlay's Pasture
And it can be purchased at any of her stores listed HERE.
~ ~ ~ ~ ~ ~ ~ ~ ~ ~
*Let's Get Started*
*Remember to add your drop shadow as you go along*
Open a new image 650 x 650
Element39 copy & paste to the center of your tag.
Activate the magic wand and click inside the frame. Selections, modify,
expand by 8. Open a new raster layer and copy & paste paper2,
selections invert, delete, select none. Move your background under your
frame.
Resize your tube to your liking, copy & paste it just under your frame layer. Use your eraser tool to remove any parts of your tube that may be sticking out.
Element26 resize 50 percent, copy & paste to the left side of your
tag. Duplicate & with your mouse drag the second layer over to the
right so that it looks like one nice long piece of grass. *Do not drop
shadow these two layers.
Element23 resize 60 percent, copy & paste to the left side of your tag. Duplicate & mirror.
Element23 resize 60 percent, copy & paste to the left side of your tag. Duplicate & mirror.
Element22 resize 52 percent - mirror, copy & paste to the left side of your tag. Duplicate & mirror.
Element20 resize 60 percent, copy & paste to the left side of your tag.
Element15 resize 60 percent - mirror, copy & paste to the right side of your tag.
Element16 resize 35 percent, copy & paste to the right side of your tag. Over in your layers palette drag it down to just above your frame.
Element57 resize 28 percent - mirror, copy & paste to the right side of your tag.
Element8 resize 30 percent - mirror, copy & paste to the left side of your tag.
Element27 resize 30 percent, copy & paste to the left side of your tag.
Element63 resize 30 percent - mirror, copy & paste to the right side of your tag.
Element64 resize 28 percent, copy & paste to the left side of your tag.
See my tag for details.
Add more elements if you wish to.
Open new raster layer and send to the bottom, copy & paste paper11 and apply your mask & merge group. Side over to the right side slightly and then duplicate & mirror and merge the two layers. Duplicate & flip.
When you are happy with your tag merge all layers and resize to your liking.
Open new raster layer and send to the bottom, copy & paste paper11 and apply your mask & merge group. Side over to the right side slightly and then duplicate & mirror and merge the two layers. Duplicate & flip.
When you are happy with your tag merge all layers and resize to your liking.
Apply the correct artist copyright and license info and save as a PNG, then add your name and merge & save.
I hope you enjoyed this tut.♥
~ ~ ~ ~ ~ ~ ~ ~ ~ ~ ~ ~
Thank you so very much for trying my tut Dixie.
Your tag is so beautiful!! I love it!♥

Wednesday, February 12, 2014
PurpleliciousLove Cluster ~ Rieneke Designs CT
This is such a gorgeous kit and there is so much that can be done with it.
I had a great time working with it. It can be purchased from Twilight Scraps.


*click on image to view full size*
Then right click to save to your computer.
Enjoy ♥
~ ~ ~ ~ ~ ~ ~ ~ ~ ~ ~ ~
Thank you so very much for using my cluster Sue.
Your tag is so beautiful!! I love it! ♥


Subscribe to:
Posts
(Atom)
Copyright Compliant Award

♥Blogs I Love


♥Stores I Love


